Shelving, racks and installed equipment change the job
If your van has been built out, say so before anyone quotes it. Shelving down one side. A partition behind the seats. A ladder rack on the roof. Drawer units, conduit tubes, a bolted-down compressor.
None of that was installed with a future body repair in mind, and it changes the job in three concrete ways.
Access. Straightening a panel usually needs the back of the metal, not just the front. On a shelved-out van the back of that panel sits behind a rack that is screwed, riveted or bonded to the body. Reaching the damage can be a bigger part of the work than repairing it.
Attachment points. Racks, partitions and roof bars are fixed to the body, often through it. Every fixing is a hole, every hole is a place that has been sealed, and anything mounted near the damaged area has to come off and go back on correctly — including the sealing, not just the bolts.
Weight and contents. A van arrives loaded, and what is in the back has to be dealt with before the body is.
- Say what is fitted when you call, before anyone quotes you. Shelving, racks, partition, roof equipment, interior lining, a bulkhead. It changes the inspection.
- Take your own things out before you drop it off. Tools, stock, paperwork, anything you would not want handled by someone else.
- Talk to the shop before you remove any fitted equipment yourself. Racking, shelving, partitions and conversion equipment are bolted, riveted or bonded into the body, and removing them can damage the van or injure whoever is under it. If you want to take on part of that work, raise it before the estimate is written so the shop can tell you what should come off, what should stay, and what it needs to handle.
A door that will not latch is a safety problem — and on a van, a security one too
If a door will not latch, do not drive the van that way. An unlatched door can open in motion. Have the vehicle inspected before it goes back on the road. Why a particular door is not holding is not something a web page can tell you — nobody here has looked at your van. On a work van there is a second cost on top of the safety one: a cargo door that will not shut means the van cannot be left anywhere with anything in it.
Work vans take their hits at the back and down the sides, where they get loaded, reversed and parked tight. What looks like a scuff on a rear barn door or a sliding door can come with a change in how the door fits or moves. Write down what actually changed before you call — that is what an inspection starts from:
- It needs a shove, or it latches on the second pull — or it does not latch at all.
- The door drops, catches the sill, or sits differently from the one beside it.
- Both doors look straight and still will not meet.
- Water or road noise gets in where it did not before. On a van carrying materials, water is a real cost.
- A sliding door drags, needs force, or does not run the way it used to.
Repainting the damage does not change how a door fits or operates. The door, its hardware, the striker and the surrounding opening are looked at together, on the vehicle.
Tell us what changed after the impact, not just what it looks like. “It closes but I have to lean on it” is more useful than a photograph.
Company lettering, wraps and paint matching
If your van is signwritten, the repair has a second half that has nothing to do with metal.
Vinyl does not usually survive being removed. Cut lettering and wrap panels are made to come off once. Anything over the repair area generally has to be taken off and replaced, not peeled back and re-stuck.
Paint under old vinyl is not the same as paint beside it. Bodywork that has spent years under graphics has been shaded from sun and weather. Lift the vinyl and the panel underneath can read differently from the panel next to it, before a single repair has been done.
White is not one color. Factory white covers a range of solid whites and off-whites, and paint moves with age and exposure. Matching is done to the vehicle in front of us, not to a code on a sticker. Where a match cannot be achieved within a panel, the correct answer is blending into the neighbouring panel — that is a normal refinishing procedure, not an upsell.
Find your artwork before the repair starts. Re-lettering is a separate trade with its own supplier, its own artwork and its own lead time, and it happens after the paint has cured. Whoever wrapped or lettered the van holds the files. Getting them takes days you can spend while the van is in the shop instead of after.
What we repair on work vans
- Collision repair — rear-end damage, side impacts, sideswipes, kerbing and post damage
- Cargo door and rear door repair — door skins, hinges, strikers, seals and the opening itself
- Sliding door damage — door, track, roller, hardware and aperture assessed together
- Body side and panel repair — the long flat sides that show every imperfection
- Panel and paint, including refinishing beneath removed graphics
- Roof and rack area damage — around ladder racks, roof bars and roof-mounted equipment
- Bumper, valance and lower-panel repair — the loading-bay damage nobody reports at the time
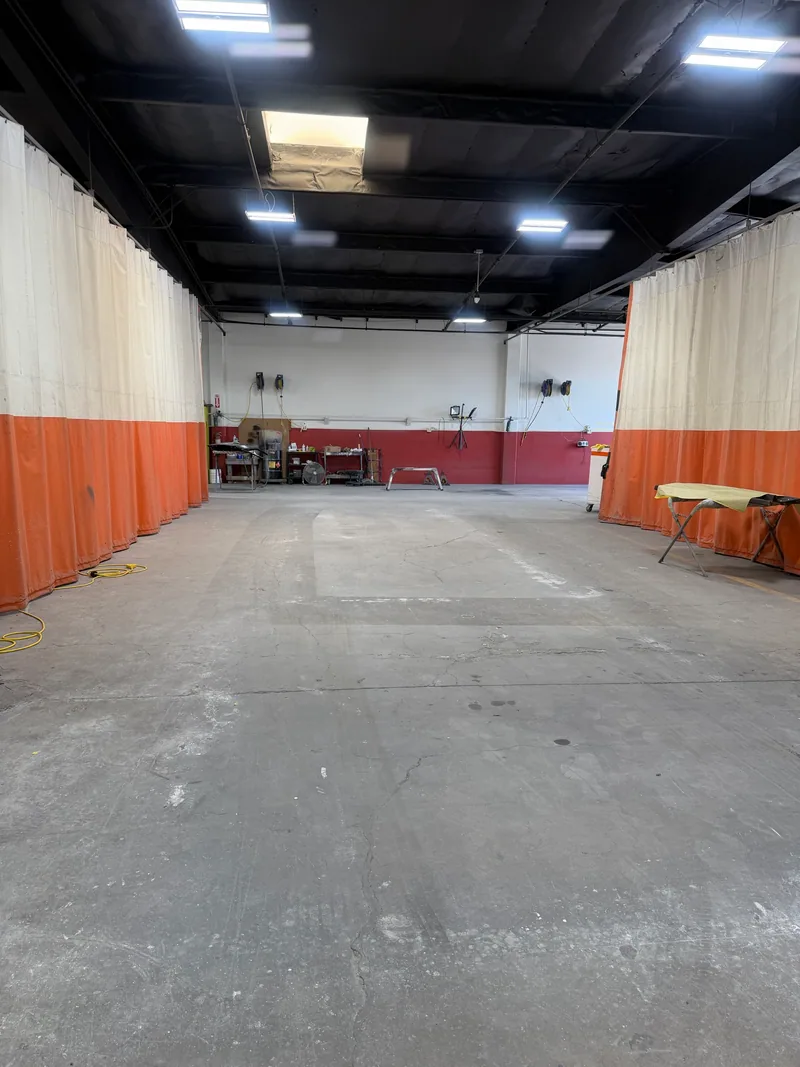
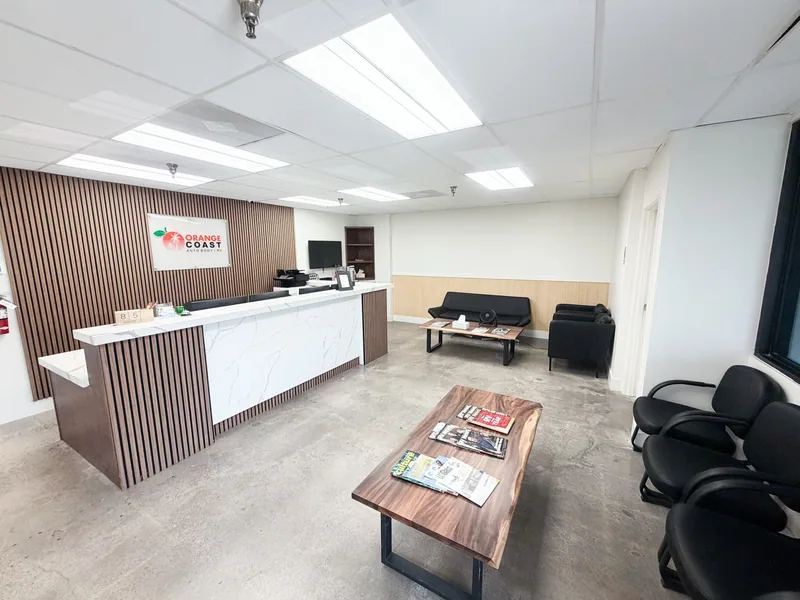
Structural and alignment equipment is on site: a frame and measuring bay, and a paint and prep area. The facility photographs on this page are of this building.
The one credential on this page
I-CAR Gold Class — what it is, and what it is not
Orange Coast Auto Body, 10810 Talbert Avenue, Fountain Valley, holds I-CAR Gold Class recognition, valid 30 January 2026 through 30 April 2027. Gold Class is awarded when a shop’s technicians hold current I-CAR training for the key roles in a collision repair.
It is a training standard and nothing more. It is not a manufacturer certification, and it is not a promise about any individual repair. The certificate is held by this Fountain Valley address. No other credential is claimed anywhere on this website.
How the repair runs, and where the days actually go
1. Describe the van. Have the make, model, year, roof height and wheelbase ready. Mention any shelving, roof equipment or change in door operation after the impact.
2. Inspection at the shop. The van is looked at in person, with the doors opened and closed. Bring any estimate you already have and any insurance paperwork so it can be checked against what is actually on the vehicle.
3. A written estimate. What is damaged, what is being repaired, what is being replaced, and what has to come off the van to get there.
4. Confirm the scope and authorizations. Ask what approvals and parts are needed before repairs begin. Discuss how availability may affect the schedule.
5. The number can move once it is apart. Trim and panels come off and reveal what the first inspection could not see — broken brackets behind a bumper cover, damage at a door edge, a bent hinge mounting. Additional findings change parts, labor and procedures. This is normal on collision work. The useful question to ask at the estimate is how the shop handles a change once it is found: who calls you, and whether the work waits for your answer.
6. Bodywork and refinishing. The repair plan should account for panel shape, surface preparation, paint and any graphics affected by the work.
7. Reassembly and checks, then pickup. Doors are checked for fit and operation, not just appearance, because on a work van that is the whole point.
Questions van owners actually ask
My insurer told me where to take the van. Do I have to go there?
Ask your insurer directly what it will pay if the van is repaired at a shop you choose, and get that answer before you commit to anything. Bring it to the inspection along with the policy.
How long will my van be off the road?
Ask for a time estimate at the inspection, once someone has seen the damage. What drives it: parts availability, whether an insurer has to approve, whether anything structural is involved, and whether shelving has to come out and go back in. Ask as well what the shop needs from you to avoid a delay — that part is usually in your hands.
Will the paint match my other vans?
Paint condition and aging can vary between vehicles. Tell the shop if appearance across several vans matters to you, and discuss the proposed color match and refinishing scope.
Will I get my lettering back?
Graphics in the repair area may need replacement. Have the artwork and the original installer’s details available so replacement lettering or wraps can be discussed before work begins.
What about my deductible?
Ask your insurer to confirm any deductible and which costs apply to your claim. Bring the claim and policy information that is relevant to the repair.
Original-equipment parts or aftermarket?
What your policy pays for and what the repair requires are two separate questions, and they do not always agree. Ask for the estimate to state which parts are original-equipment, which are aftermarket and which are being repaired rather than replaced, so you are choosing rather than discovering.
Is my van on a business policy or a personal one?
If you use the van for business, ask your insurer to confirm the coverage that applies to that use. The shop can discuss the repair scope once the damage has been inspected.
Can you quote from photos?
Photographs are useful for the first conversation and are not a substitute for an inspection. On a van the things that decide the job — door fit and operation, what is fitted inside, the state of the aperture — do not show reliably in a photo.
My van is not driveable. Can it be towed in?
Speak to the shop before you book the tow so the arrival can be coordinated, and give your transporter the Talbert Avenue address.
Do you work on Sprinters too?
Yes. Mercedes-Benz Sprinter is named on the shop’s own building signage, and Sprinter body repair has its own pages at Orange Coast.